My friend Nicole and her husband Aaron are leaving town. They’ll be opening their own photo studio in the Denver, Colorado area. They are a great couple, and talented, artistic photographers. Check them out at their site www.TheWildasinsPhotography.Blogspot.com.
Nicole asked me to make her an apron a few weeks ago. I decided to make one as a going away gift for her. I like to think she’ll remember me when she’s baking with her apron on.
Aprons are fun to make and the possibilities are endless. They’re great to use scraps of fabrics and leftover embellishments.
Choose your color scheme and lay your fabrics out together.
Choose your embroidery threads
Choose your embellishments, laces and trims
NECK TIES
Cut 4 strips of fabric 25” long by 2-1/2” wide for your NECK tie straps. Pin two pieces right sides together. Stitch a ½” seam on 3 sides leaving one short end open and turn right side out after sewing. Fold in the unfinished edge ¼” and press. Repeat for second neck tie.
WAISTLINE TIES
Cut 4 strips of fabric 33″ long by 2-1/2” wide for WAIST tie straps. Pin two pieces right sides together. Stitch a ½” seam on 3 sides leaving one short end open and turn right side out after sewing. Fold in the unfinished edge ¼” and press. Repeat for second waistband tie.
APRON BOTTOM
Cut one large piece for apron BOTTOM 22” long by 22” across. Leave the top (waistline) unfinished, and on remaining 3 sides fold under raw edges on sides and bottom twice (1/4” each time) toward wrong side of fabric. Press and topstitch close to edge to finish the sides and bottom hem.
APRON BODICE
Cut a variety of “strips” for the top of the apron 17” across, allow ½ seam allowance at top and bottom of each strip. Use as many fabrics as you like. For example 3 equal size strips should be cut 3” + ½” at top and ½” at bottom = 4” x 17” for each strip. 
Stitch together lengthwise to create a finished top approximately 9” from top to waistline.
To finish the top and sides fold in edges twice towards wrong side of fabric (1/4” each time) and topstitch close to these three edges. Note: Leave the waistline edge unstitched.
ASSEMBLING PIECES
With right sides together, center the unfinished edge of the APRON BODICE to the center of the unfinished edge of the APRON at the waistline and stitch with a 1/2″ seam allowance.
On the wrong side of the APRON BODICE, pin each of the neck tie pieces approximately 1” in from each end and ½” from top.
Stitch through all thicknesses at 1/8” and ½” from top edge of garment.
On the wrong side of each edge of the waistline of the apron fold over 1/2″ of unfinished edge once toward the wrong side and press.
Attach each of the waistband TIE pieces to the back edges of the apron waistline. 
Stitch through all thicknesses close to edge of the waistband ties. Stitch end ½” and 1” from edges onto apron bodice.
Topstich each neck and waistband tie close to edges on 3 sides.
GET CREATIVE
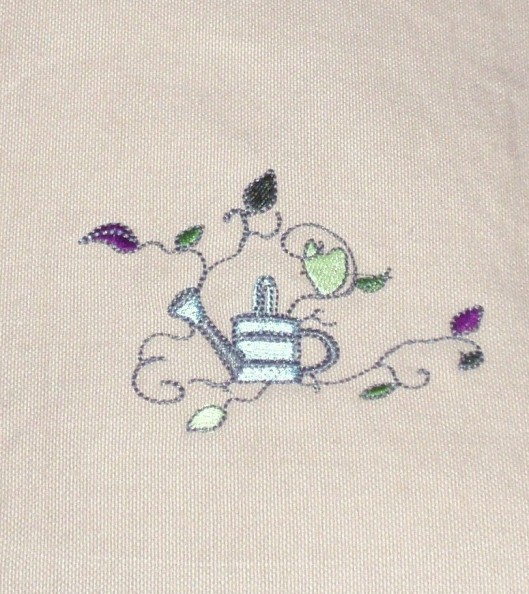
Add embroidery. I chose a design from www.urbanthreads.com
Add laces and trims. I added mine across each bodice seam.
Get creative and artistic. Have some fun. Try different colors.
Or garden designs for a garden apron.
If you like the Bon Appetit Urban Threads design, check out my kitchen towels at www.SewManyThreadss.Etsy.com


Your aprons are lovely. I really like and am envious of your embroidery. It’s so detailed. I made my first apron the other day and even though it was good for my first time, it wasn’t quite as professional looking as yours!